Saturday, January 3, 2015

Game Day: Venison, Roast Partridge Breast with Bacon, Sprouts, and Heirloom Carrots

Eating game isn't a particularly American thing and if I was still in America I don't know when or where I would eat it.  Right now venison, which is amazing, and partridge are in season and, after a very strenuous day of brunch and shopping, I thought I deserved to treat myself.  On the way back from Cambridge I stopped in at a farm shop to see what I could get- I ended up with two venison steaks, five partridge breasts (they're like the A-cup of the poultry world so I felt a real affinity to them), some sprouts, and heirloom carrots.  I've cooked venison before and it has a really interesting flavor so doesn't need much doing on that front.  I don't think I've ever had partridge before but a quick google search led me to believe that, although it's gamey, it needs a bit of help when it comes to flavor.
Venison steaks and partridge breast

When cooking game, it's advisable to send your significant other out for wine in case the meal is bad. If you're as lucky as I am, he or she will return with wine AND oysters- everyone's a winner.  

Venison doesn't need much in the way of flavoring but I used a combination of red wine, olive oil, salt and pepper keep it from drying out.  As with beef steak, I use a fork to poke holes in the venison on both sides so that when it's turned in the marinade (for lack of a better word), the whole cut of meat absorbs it.
Red wine, olive oil, salt and pepper
Venison steaks with fork marks in marinade

The plate pictured above is a glorious charity shop find that fits in with my love of willow wear while being very practical.

Since sprouts and heirloom carrots are also in season, they have a lot of flavor of their own so don't need to be overpowered by anything.  Like all heirloom vegetables, heirloom carrots are beautiful and taste great.  Tonight, I just used butter, salt, and pepper- basically the only three things you need when you cook.
Sprouts and heirloom carrots
Originally, I was going to do bacon-wrapped partridge but I didn't have as much bacon as I thought so I just put the partridge on top of it.  Partridge can get dried out really easily, like all poultry, so I seared the partridge to help seal in the moisture then diced a clove of garlic to put on top which added moisture and flavor.
Searing the partridge breast

Bacon, partridge breast, and diced garlic
To be extra sure that the partridge didn't dry out, I put tin foil over while it cooked.  I think next time I would put a bit of olive oil or butter on top to keep it tender.  To cook the venison, I also seared it then covered it with tin foil while it was on the pan.  I was planning on this being a dainty meal but, as I tend to do, I made much too much food and will be eating this for a few days- unless the man or dog of the house get to it first.  

I got this table cloth today and have mixed feelings about it- the large wine glasses I only have good feelings about

Final product: venison, heirloom carrots, sprouts, and partridge breast


 Recipes

Venison Steaks
  • Venison- make sure it's in season and ask your butcher how much they would recommend 
  • Red wine
  • Olive oil
  • Salt and pepper
  1. If venison is wrapped in plastic, rinse and lightly pat dry with paper towel
  2. Pour a splash of red wine and olive olive oil into a dish
  3. Add salt and pepper as desired
  4. Poke holes with a fork in the meat, turning occasionally 
  5. On a hot pan, sear each side of the venison for about 2 minutes each
  6. Lower heat on pan and flip venison regularly until cooked to your liking - about another 10 minutes

Roast Partridge Breasts with Bacon and Garlic
  • 5 partridge breasts 
  • 2 rashers of bacon
  • 1-2 cloves of garlic
  1. Preheat oven to 200C degrees
  2. Sear each side of the breast on a hot pan for about a minute each, remove and place on a plate
  3. On the same pan, cook the bacon for 1-2 minutes, remove from pan and put in oven-proof tray
  4. Dice garlic cloves
  5. Place bacon, partridge, and garlic on baking tray, covering with foil
  6. If you're worried about tenderness, add a bit of butter or olive oil on top
  7. Cook for another 20 minutes or until juices run clear


Sunday, November 9, 2014

Slow cooking and squash: how to cook for fall

Now that I'm working in London instead of down the road, I don't have as much time to cook as I used to.  I've gotten in the habit of making big meals on Sundays so there are left overs for the week and I can have the whole day to mess around in the kitchen.  The last few weeks I've been all about the slow cooker and squash, a perfect fall combo.

I have never been a huge fan of pork.  I wouldn't go so far as to say that I didn't like but it wasn't really on my radar, which is a bummer cause pork is awesome and super versatile.  You need to be careful with it since if it's overcooked it can be tough and taste like a boot.  Fortunately, that hasn't happened when I've cooked it, thanks to my glorious slow cooker.  Now that winter's coming and it's getting cold, it's so nice to come home from work and have a hot meal ready with minimal effort.  Pork is really well suited to slow cooking since it's practically impossible to over cook it this way.  The slow-cooked pork I did was BBQ pulled pork with butternut squash and root vegetables.
The finished product: BBQ pulled pork, butternut squash, and root vegetables

To prepare the pork, I slathered it in Newman's Own Sticky BBQ sauce- I could have made my own but Newman's Own is generally a safe bet.  When buying BBQ sauce, always read the ingredients!  All BBQ sauce needs in it is tomatoes, vinegar, sugar, and spices- if it has anything with more than three syllables or that you can't pronounce, steer clear.  

Pork covered in BBQ sauce

I then cut into the meat and put in slices of garlic because garlic is amazing and you never know when you're going to need protection from a vampire.

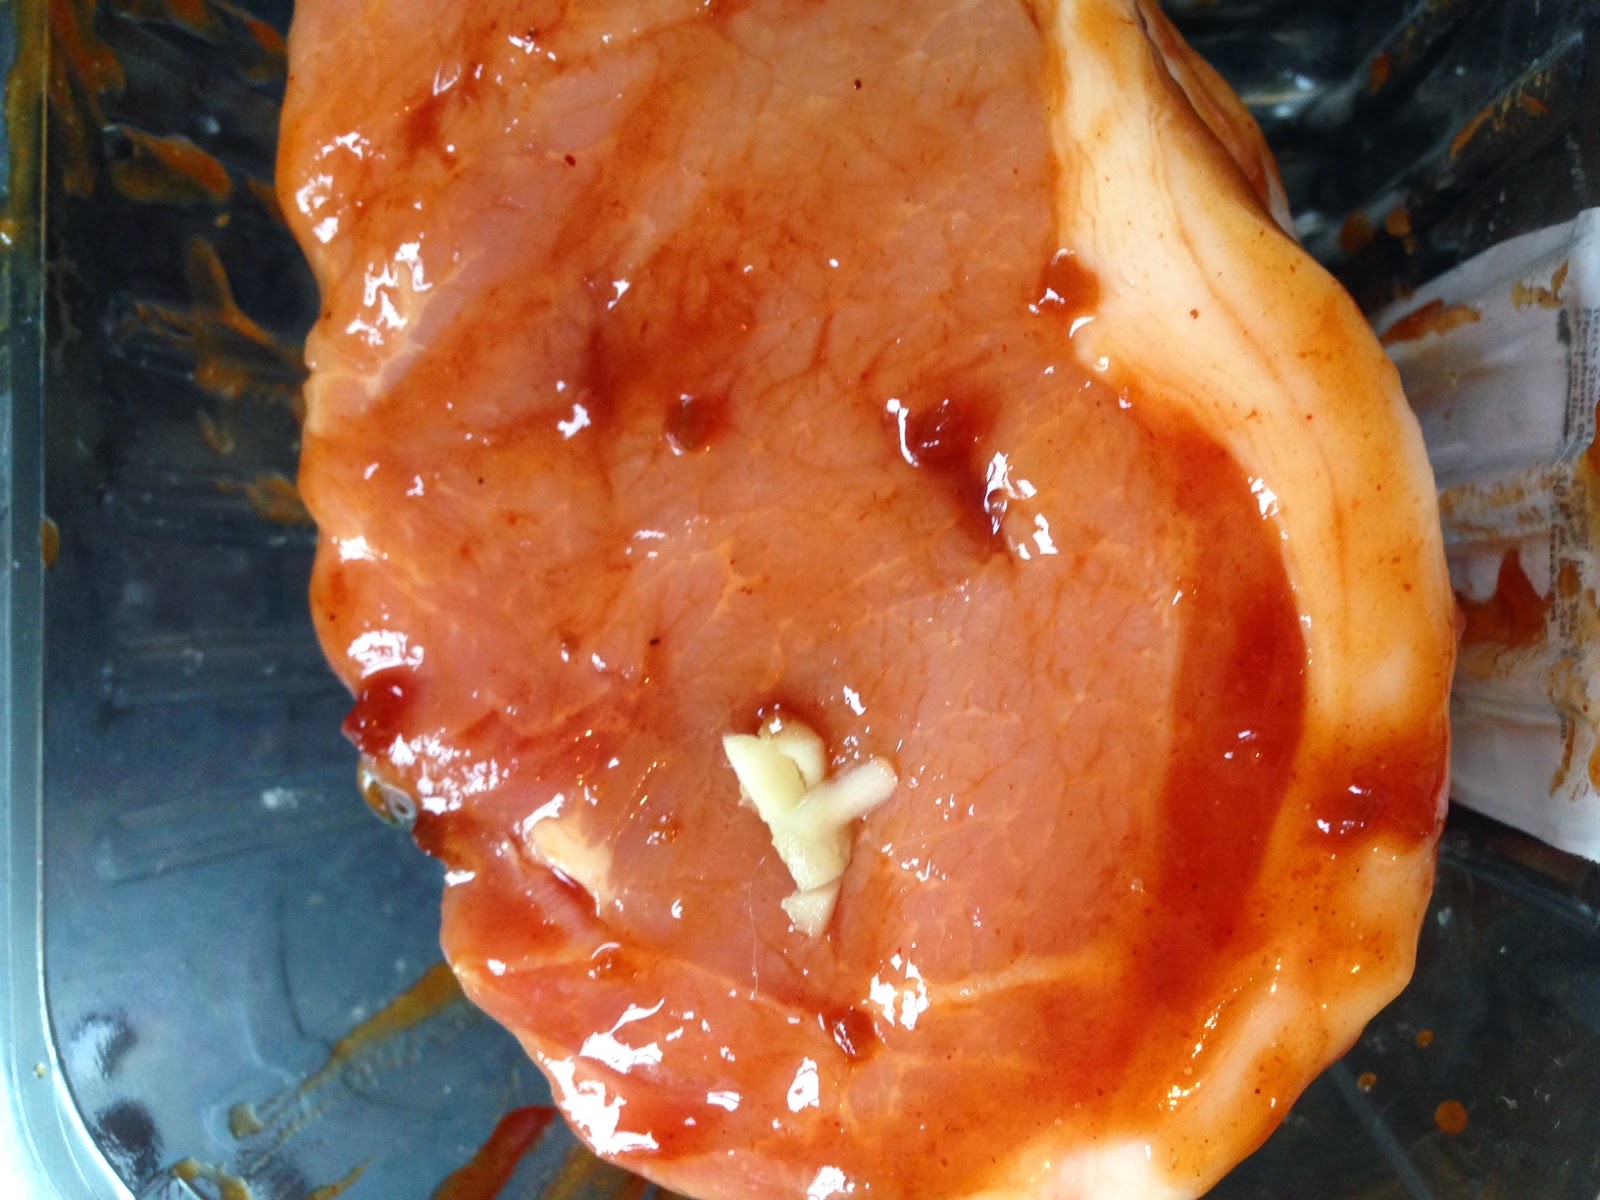
Pork covered in BBQ sauce with garlic


Once I was happy that the pork was sufficiently covered in sauce and filled with garlic, I put it in the slow cooker on top of the chopped root vegetables and then left it to cook on low for about five hours.

Swede, carrots, and onion in the slow cooker
Pork on top of the root veg, ready to cook


Another great thing about this time of year is squash: butternut squash is just amazing.  You can do so much with it and it's creamy and delicious. To start, I cut it in half then peeled and de-seeded it.
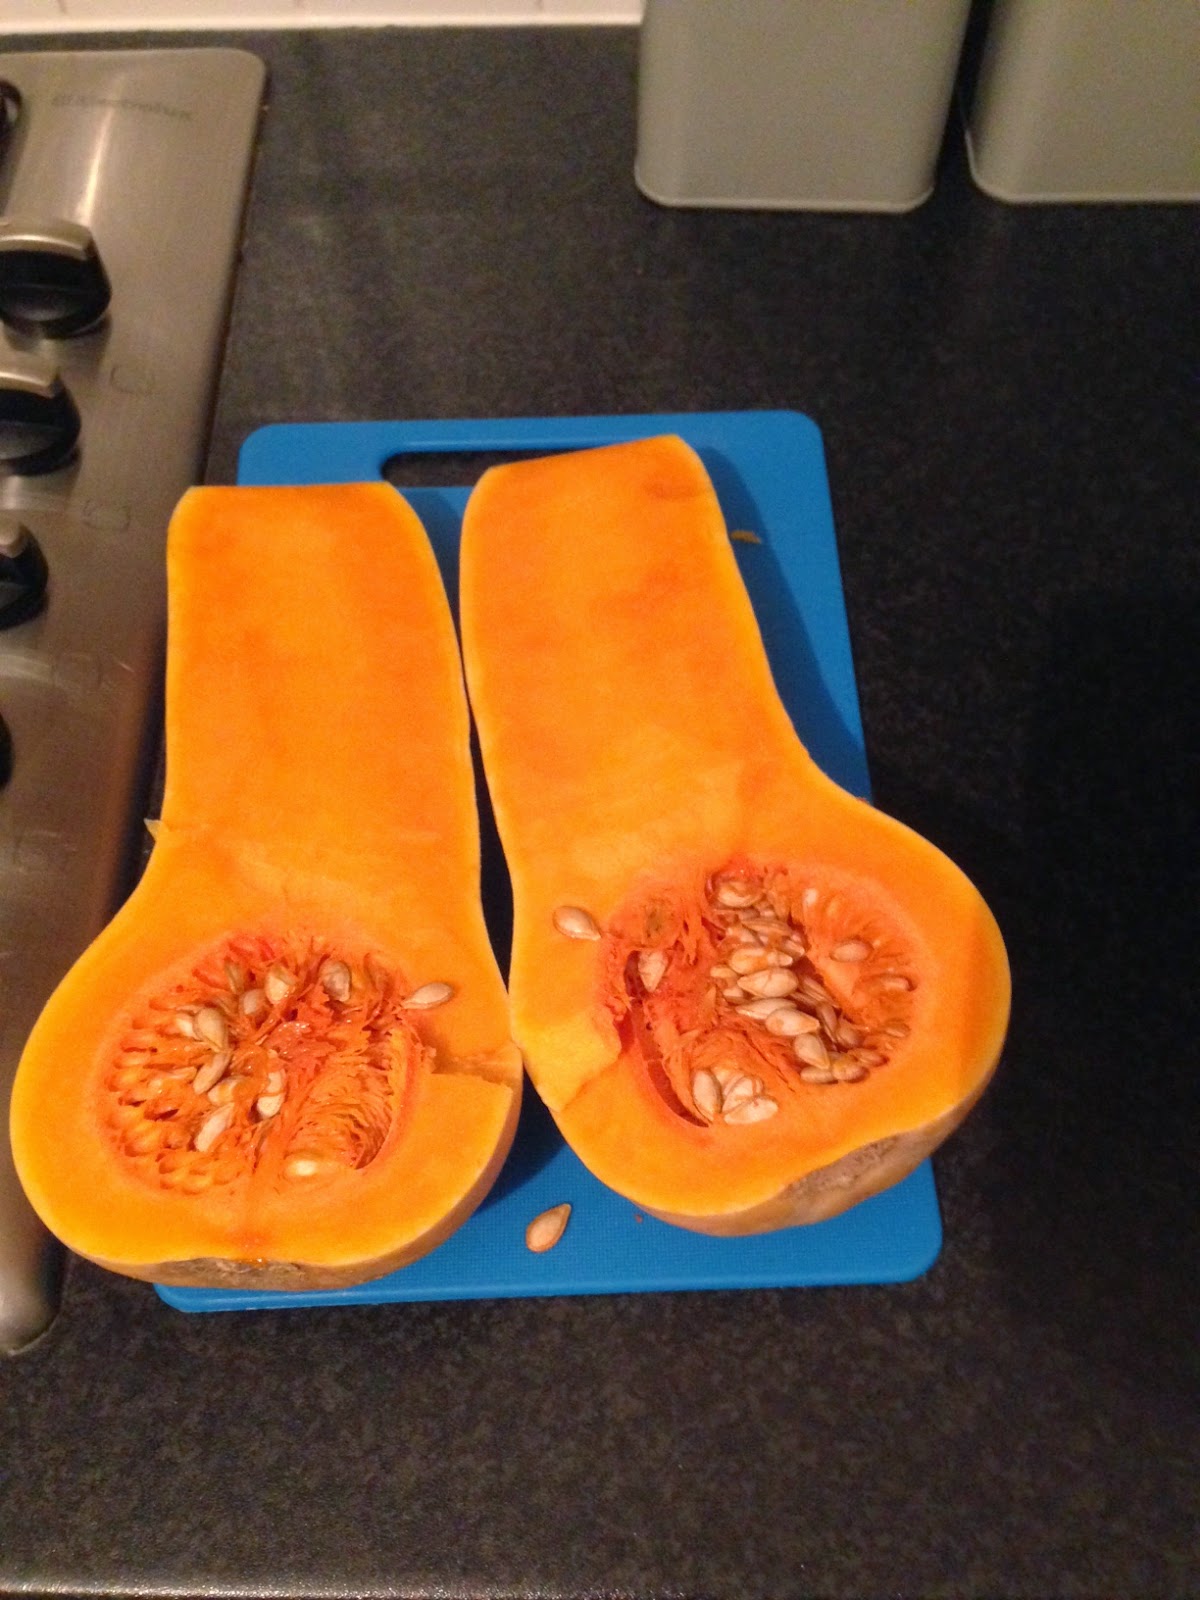
Butternut squash

Then chopped into cubes an coated it with a butter and honey sauce and stuck it in the oven after the meat been cooking for about four hours.

Chopped squash

Once the meat had been in for about four hours, I took everything out of the cooker, let the meat rest for 10ish minutes and moved the root vegetables into a pan.  

I pulled the pork, put more BBQ sauce on it, and put it back in the slow cooker until the veg and squash were done.

Pulled pork

Yum

The next meal I prepared with the slow cooker was lamb with spaghetti squash.  Until I saw it at the supermarket, I didn't really know what spaghetti squash was but it's weird and wonderful and I can't recommend it enough.

Finished product: slow-cooked lamb and spaghetti squash

Lamb has its own distinctive taste so doesn't need much added to it.  Quite simply, I cut an onion in half and put in the bottom of the cooker and put the lamb on top.  I poured a healthy splash of red wine on top and left it to cook on low for about 5-6 hours.  As the lamb was cooking, we took the dog for a walk over some fields about 10 minutes from home.  While walking over, you can hear the sounds of cars, trains, and life in general.  As you reach the top of the hill, you can see the whole town in one direction and rolling fields in the other.  The sounds of the town fade away.  To be able to have the quiet and that view walking distance from my house while be a half hour from London is pretty awesome.  I love a good dog walk but that view makes it even more enjoyable.

My view
My glorious beast also loves a good walk

After the walk, I got started on the squash.  First, I cut some slits into it so the steam can escape and squash doesn't explode in the oven.  
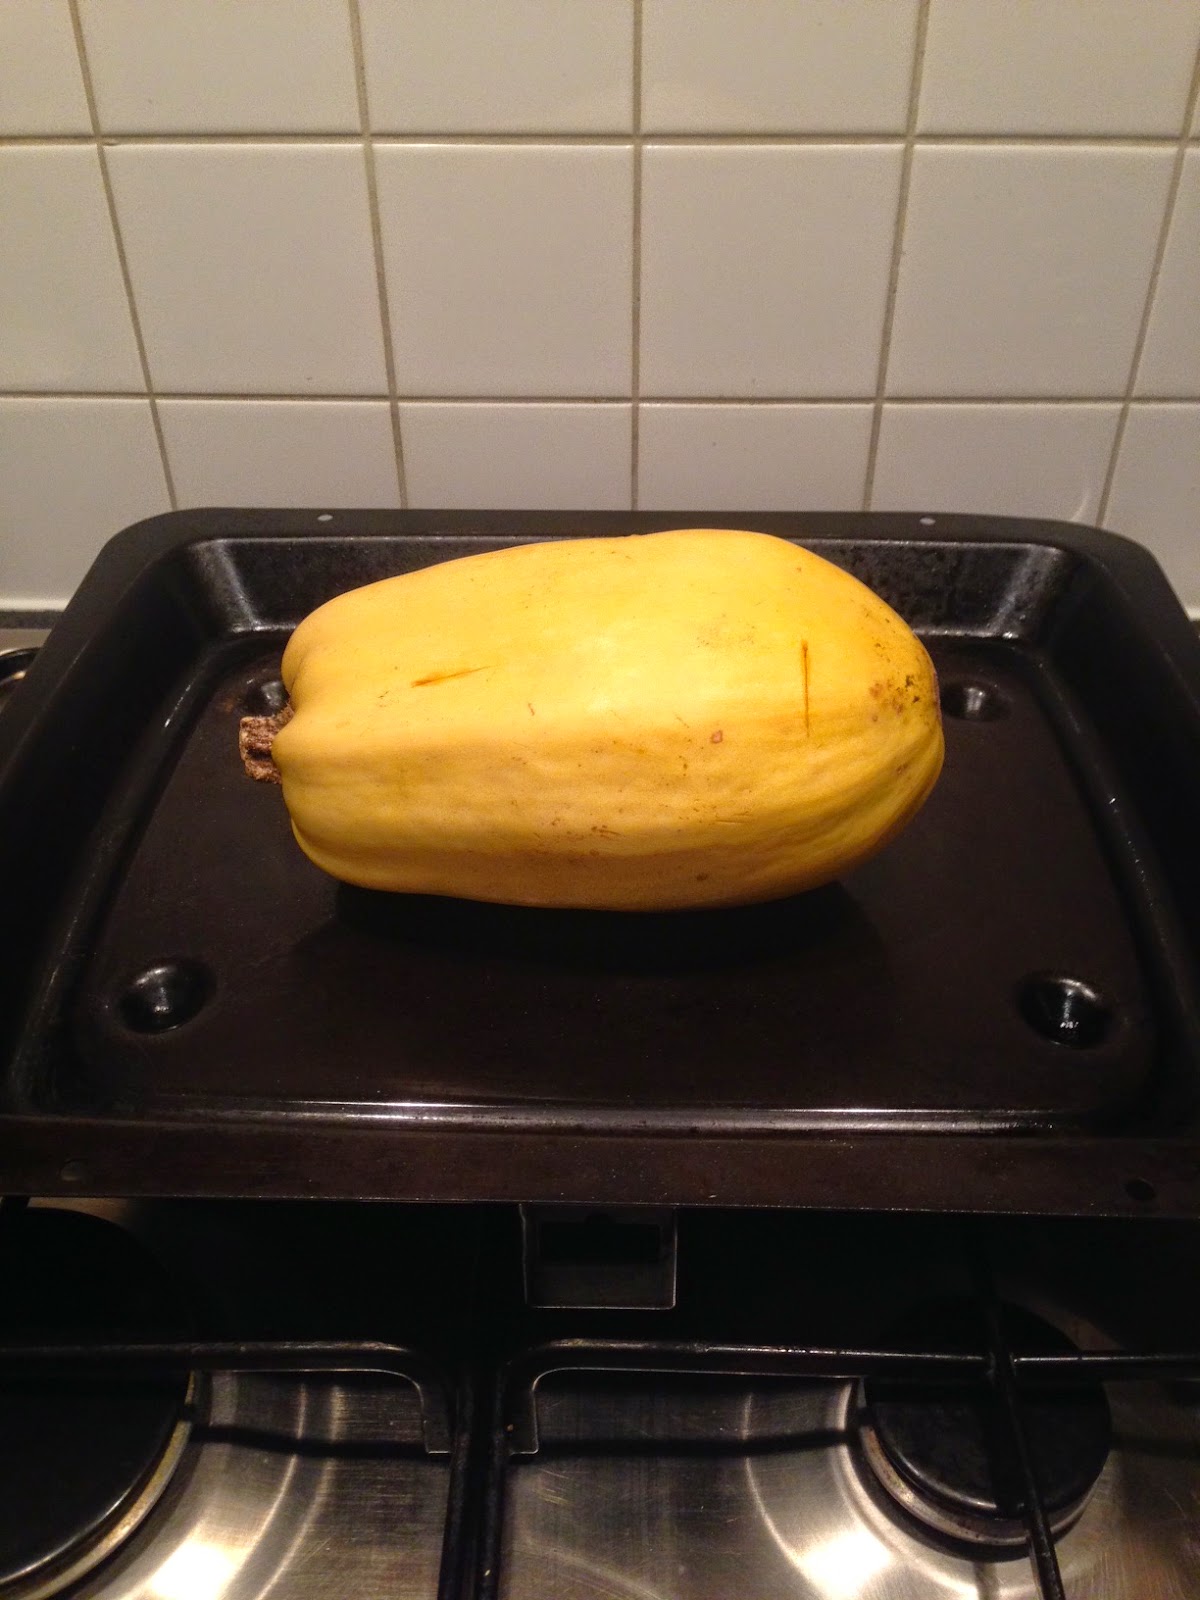
Ready to go in the oven
Once it's done, about an hour, remove it from the oven and let it cool for about 10 minutes.  Cut it in half and take out the seeds.  As you do this, you'll start to see why it's called spaghetti squash. 


As with the pulled pork, use a fork to pull the squash apart.  It breaks up into little spaghettis: weird and wonderful!  I then put the meat of the squash into a pan to crisp it up.

I added some basil from my very own basil plant and topped it all off with loads of parmesan.


This was probably the best meal I've made.  It's simple but delicious and you can add whatever flavors you like to the lamb and the squash.  This is definitely something I'll be making again.


If you want other foodspiration, check the hashtags #cookingwithtoes and #cookingmyassoff- my cousin Alice cooks some pretty yummy stuff!

Recipes


Root Vegetables
  • Swede, carrots, and onions
  • Olive oil
  • Salt and pepper
  1. Chop vegetables into cubes 
  2. Use the veg to line the bottom of the slow cooker, season with salt and pepper and drizzle with olive oil
  3. After 6 hours, remove vegetables and put into a roasting tin and roast for 30 mins
Pulled Pork
  • Rolled pork shoulder 
  • 2 cloves of garlic, sliced thinly
  • BBQ sauce
  1. Coat all sides of the pork in BBQ sauce  
  2. Cut small holes into the pork and insert the garlic and make sure some of sauce get in there
  3. Put meat into the slow cooker on top of the veg and leave it to cook on low for up to 6 hours
  4. Remove pork from cooker and allow to rest for 10-15 minutes
  5. Using forks, pull the pork apart into strips
  6. Put more BBQ sauce on the meat and put back into the cooker until vegetables and squash are done
Roasted Butternut Squash
  • Large butternut squash
  • Butter
  • Honey
  • Salt
  1. Heat oven to 200C/390F
  2. Cut the squash in half the long way (pictured above)
  3. Using a vegetable peeler, peel the thick skin of the squash 
  4. Using a spoon, remove the seeds
  5. Chop into cubes (about 1inch)
  6. In a sauce pan, combine 2-3 tablespoons of butter and 1-2 tablespoons over a low heat until combined
  7. Place squash in roasting tin and cover with butter and honey and a pinch of salt
  8. Roast for 30 minutes

Slow-Cooked Lamb
  • Lamb
  • Onion
  • Red wine
  • Salt and pepper (optional)
  1. Chop onion into half and place at the bottom of the cooker
  2. Place the lamb on top and season with salt and pepper (or any other spices you want)
  3. Cook on low for up to 8 hours
  4. Allow to rest for 10 minutes
Roasted Spaghetti Squash
  • Spaghetti squash
  • Olive oil
  • Parmesan
  • Basil
  • Garlic, 2-3 cloves
  1. Preheat oven to 190C/375F
  2. Pierce the skin of the squash and place in pre-heated oven
  3. Cook for one hour
  4. Remove squash from oven and allow to cool for 10 minutes
  5. Cut squash in half the long way and remove seeds
  6. Using a fork pull the meat of the squash apart
  7. Mince garlic and basil
  8. Put pulled squash in large pan and drizzle with olive oil
  9. Add garlic and basil and toss all together
  10. Add as much parmesan as you like and enjoy!

Tuesday, August 12, 2014

Salmon, Pesto, and Greenery

I got a food processor which means one thing: pesto.  My mom is the pesto queen and I've inherited her recipe- and now you can too!
Finished pesto
Pesto, to me, is super summery and amazing- as long as you don't mind having garlic breath.  You can put it on anything: pasta, salmon, chicken, sandwiches, and anything else that you'd like to make more delicious.  It's also really easy to make (as long as you have a food processor).
Pre-cooked dinner

Tonight's dinner was inspired by Jamie Oliver, an amazing chef with amazing restaurants.  For a summer evening such as tonight, something light but flavorful seemed in order so I went with salmon, green beans, and broccolini with pesto.  Use whatever vegetable you like/are in season but make sure they're slightly cooked before putting them in the oven.
Wild-caught Pacific salmon
Salmon is really good for you (fish, in general, is).  Whenever possible, you should eat wild Pacific salmon, not farmed salmon.  The most beneficial qualities salmon has are mitigated, if not eliminated, when you're eating salmon that was fed corn- which is a large part of farmed salmons' diets.  Fish shouldn't eat corn and humans shouldn't eat fish that have eaten corn.  If you're unsure if your salmon is wild or farmed, the color will tell you: wild salmon is a darker pink (almost red) while farmed salmon is a lighter pink (often dyed to make it look more appealing).  If food and your foods' food is something you care about, I would recommend doing further research on farmed salmon so you can come to your own conclusions on it.  Wild caught salmon, however, can have a large carbon footprint: the moral dilemmas abound.
Dinner's ready


Recipes

Pesto
  • Fresh basil leaves - about 2 loosely-packed cups
  • Olive oil- about 1/2 cup
  • 2 garlic cloves
  • 2 tablespoons pine nuts (or walnuts)
  • 1/2 cup grated parmesan cheese
  • 2 tablespoons grated romano cheese 
  • 1 tablespoon butter
  • 1-2 tablespoons cooking water if you make pasta to go with the pesto
  1. Wash and dry basil leaves
  2. Mix basil, olive oil, garlic, and nuts in a food processor until it is thin and oily
  3. Transfer to a mixing bowl and add both cheeses
  4. Add butter and mix well
  5. If you're cooking pasta, reserve some of the cooking water before draining and add to mixture
Salmon and Greenery
  • Wild-caught Pacific salmon
  • Green beans
  • Broccolini 
  • 1 lemon 
  • Tin foil (put on cooking tray)
  1. Pre-heat oven to 200C 
  2. Boil green beans and broccolini for 2-4 minutes, drain
  3. Place vegetables on tin foil
  4. Place salmon skin-side down on top of veg
  5. Add a dollop of pesto on top of the salmon
  6. Halve the lemon and sprinkle the lemon juice and some olive oil on top of it all
  7. Close tin foil into a pouch, closed tightly 
  8. Cook for 15-20 minutes
It's as easy as that!

PS - I'm back

Sunday, January 26, 2014

My birthday weekend

I am now, officially, in my mid-twenties.  I've been spoiled over the weekend to celebrate and loved every minute of it.  
On Thursday, I went to my favorite restaurant in Royston, The Old Bull, with Sam and his family and had the most wonderful meal: roast duck with a potato concoction I'd like to marry.  I don't have a picture of this so I'll have to go back and order it again I guess.
On Friday, my life-long dream of going to Hogwarts came true: I went to the Warner Brothers Studios in Watford where the Harry Potter movies were filmed.  It was the best three hours of my life.
Premature photo of the studio- too excited to wait

Chess pieces used in The Sorcerer's Stone 
 I won't go in too much detail now about how much I adore the Harry Potter books and movies (I'm watching The Prisoner of Azkaban now).  When the books were being published, I would re-read the series up until the latest book.  Every summer.  I have reread the series several times since then.  I have all the books, including my worn and fraying paperback of the Sorcerer's Stone, in print and on my Kindle.  The movies are amazing, even if they leave bits out, and, after learning more about how they were made, they are truly magical.
Also, I love that the over-arching message of such an emotional roller coaster is so simple: love is the most powerful magic.

The Great Hall

Gryffindor common room

Entrance to Dumbledore's office

The ministry of magic's monument in the later movies


Butter Beer on Privet Drive
The most amazing building ever created
Eventually I'll outline in further detail the amazingness that is Harry Potter.

After Harry Potter, we went to the Cotswolds for the rest of the weekend and stayed at an adorable hotel.
Wroxton House Hotel
The building is lovely and old (built in 1649) and we spent our evenings playing Scrabble in front of the fires- true story.  The restaurant was supposed to be incredible and award-winning but I wasn't particularly impressed. 
Coming home today we wanted to stop at Blenheim Palace but it was shut- which we only found out when we arrived.  Although it was a bummer, it meant we were able to get back to this idiot a bit sooner.
Fenway is his cousin's bed. His cousin is a bichon.
Tonight I decided I wanted to cook a roast.  I saw Jamie Oliver on TV cooking his beer-butt chicken and figured I should try it.  It's awesome, pretty easy, and you should try it.  What makes this chicken so good is that it doesn't dry out- at all.  The beer in it provides moisture and so does the olive oil, especially when you rub it under the skin.  The most challenging parts were figuring out to get the chicken to fit in my fun-sized oven, adding the vegetables without knocking over the chicken, and removing the beer can from the final product.  As usual, this recipe lends itself to creativity- whatever rub you like can be used with any vegetables.

Whole chicken, coated in olive oil, chili flakes, salt and pepper.
Olive oil, chili flake, salt and pepper rub

Half-full tall boy, waiting to enter the bird.


Sprouts, carrots, onion, and leek

1/3 of the way through, adding the potatoes to roast
2/3 of the way through- adding the vegetables
Final product

The end!
Recipes

Beer-Butt Chicken with Chili Flake Rub
  • Whole, uncooked chicken
  • Chili flakes- about 1-2 tbs
  • Olive oil- about 1/2 cup
  • Salt and pepper
  1. Preheat over to 200c/400f
  2. Mix olive oil, chili flakes, salt and pepper together in a bowl
  3. Coat the chicken with 1/2-2/3 of the mixture being sure to cover it completely, inside and out
  4. Place the 1/2 full can of beer on the baking tray/tin and lower the chicken onto it
  5. Place the baking tray/tin on the lowest rack of the oven and leave to cook for 25 minutes
  6. While the chicken is cooking, prepare the potatoes and vegetables

Roast potatoes, cooked with duck fat
My oven isn't big enough for roasting the chicken and veg separately so I altered my direction a bit.
  • 2-4 potatoes 
  • 1/4 cup duck fat
  • Salt and pepper
  • 2-3 tablespoons flour (optional)
  1. Cut potato into similar sized chunks- about a cubic inch
  2. Boil potatoes for about 5 minutes or until they're just soft
  3. Heat a frying pan on the stove and cover with duck fat, leave until hot- about 2-3 minutes
  4. Drain potatoes and rough up slightly in colander - if you want them extra crispy, add the flour 
  5. Put potato onto the pan and coat fat, sprinkle lightly with salt, making sure all surfaces have sufficient fat
  6. Remove chicken from the oven and place the potatoes around it
  7. Cook for another 30 minutes
Sprouts, onion, carrots, and leek
  • 1/4lb sprouts, 1 onion, and 2 carrots, 1/2 a leek
  1. Sprouts- trim and half
  2. Cut carrots, leek and onion into small chunks
  3. Remove chicken and potatoes from oven, push potatoes to one side of the tray and place the veg on the other side
  4. Cook for another 15-20 minutes, until the chicken is done
I'm in the process of making chicken stock/soup with the leftovers and will post about how it turned out in the next few days!